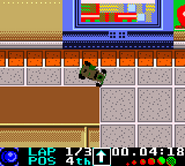
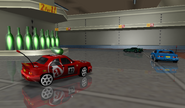
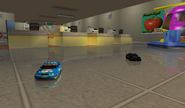
SuperMarket 1 is a standard track created by Acclaim Studios London. The first track of the Extreme difficulty and the Platinum Cup Championship, it sets the racers in a FoodVault market much larger than SuperMarket 2 featuring more complex aisles, storage rooms, and cash registers.
Course Layout[]
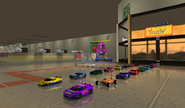
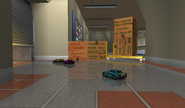
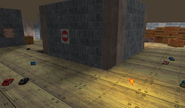
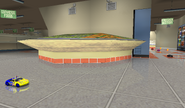
The starting grid is located right at the entrance of the supermarket, beside the doors. The first section is the 'Fruits & Vegetables' area, with tables that are filled with such items. A right turn is the first corner, which leads to the 'Convenience Foods' section with aisles. Unfortunately, the section is blocked by a yellow flatbed trolley and cardboard boxes, and racers must instead take a sharp left into the loading bay, which serves as a detour.
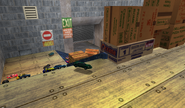
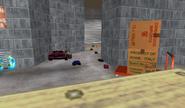
Inside the loading bay, an immediate right turn occurs. A left turn takes the racers onto the second floor of the bay. Two consecutive right turns then occur here, which must be done while maneuvering around the boxes, including a mini S-bend around the packages. A ramp at the end of the bay eventually leads the racers into the aisle section.
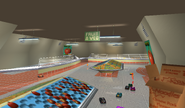
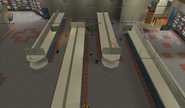
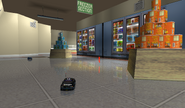
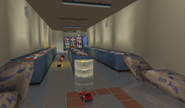
Four consecutive aisle hairpins occur, all of which are narrow. After the fourth turn, the path leads into the 'Freezer Section'. A wide left 180° turn occurs, leading into a small straight. At the end of the straight is a moderate left corner, which suddenly leads to a sharp right hairpin turn towards three freezer aisles which serves as two lanes. The first and third freezer aisles are supported with sacks of potatoes, which acts as a ramp for the vehicles to drive on top of those aisles.
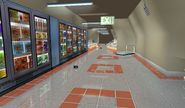
As soon as the aisles end is a sharp right turn leading into the final long straightaway towards the row of checkouts. A reasonable right turn must be performed after clearing the registers in order to complete the lap.
Hazards/Obstacles[]
The layout filled with sharp inclines and consecutive tight corners is a nightmare for vehicles with poor acceleration or turning radius such as AMW, making them unsuitable to use in the track. The long straightaway near the end is not sufficient enough for vehicles with high top speeds to use to their advantage.
There is a floor below the top level of the loading bay, which is mainly used in Reversed mode. The top floor has holes on them, which will cause racers to fall through, thus losing time, if they are not careful.
The first tip of the aisle hairpin contain various glass bottles, punishing vehicles who cross the corner too close on the inside. There are also cans on the outside corners, obstructing the racing line.
The middle of the freezer section is filled with cans stacked as a pyramid on top of stands, which obstructs the racing line through this area.
Finally, the checkout area is also an obstacle, as hitting the trolleys or the registers can make or break the race as it is located near the start line. The trolleys in particular may be hard to avoid, as they are concealed from the registers.
Strategies[]
A car with excellent acceleration and handling do best in a track with steep ramps and corners, which SuperMarket 1 is a part of. Vehicles such as Adeon, Humma, or SNW 35 are recommended as they possess these traits.
Many sections of the track are narrow. Consider using trap items such as the Oil Slick or the Ball Bearing on the aisles especially right after the sharp corners as opponents will have little time to react. Placing them in the freezer aisles or the checkout works too, limiting the amount of paths they can take to get through.
There is a secret vent opening on the 'Fruit & Vegetables' section, at the end the display shelves located at the perimeter of the area. The small vent takes the racers right to the loading zone without making a sharp left turn, thus taking them straight to the ramp. Another secret route is driving on the left of the fruit stand that lies right after the aisle hairpins. The shortcut forgoes the need of making the wide 180 degree turn, but is compensated through two sharp 90 degree turns instead. Both options are not as effective when compared to the normal route.
The hole openings on the top floor of the loading bay can sometimes be used as an advantage. If one gently drops down to the lower floor, they can proceed to navigate the lower floor and exit quickly. The reduction of air time and ramps here makes this strategy quite valuable.
Finally, it is best to avoid taking any optional ramps, especially the potato bag ramp or the register ramps. These will more likely than not cause the player to lose precious time.
Star Locations[]
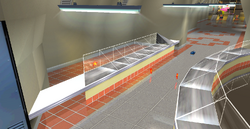
The Global Pulse can be found in the beside the straight before the cash registers, by taking a detour to the left of the left display shelf.
It is one of the easiest Global Pulses to pick up as it lies along the racing line. Nevertheless, the star can still be deceiving and risky to grab as it lies on a straightaway, a path where vehicles can travel at a great speed. Going across the shelf would mean forgoing a lot of speed and time than usual.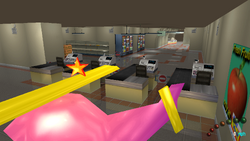
Trivia[]
- The helicopter rides are not present in the PlayStation version due to technical limitations. This does make grabbing the Practice star easier however.

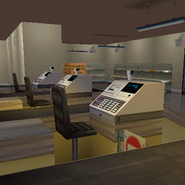
![Gbc market1.png (73 KB) GFX art for the discontinued GBC port].](https://static.wikia.nocookie.net/revolt/images/9/93/Gbc_market1.png/revision/latest/scale-to-width-down/185?cb=20190217163739)
